
DIY Tips for Installing Hardwood Floors Like a Pro


Preparing Your Space
Before diving into the installation of hardwood floors, it’s crucial to properly prepare your workspace. Start by removing any existing flooring and thoroughly cleaning the subfloor. This ensures a smooth surface for the new hardwood. It’s also important to acclimate the wood planks to the room’s humidity and temperature for at least 48 hours to prevent any warping post-installation.
Measure the area where you plan to install the flooring accurately. This helps in purchasing the right amount of materials and reduces waste. Additionally, gather all necessary tools such as a saw, hammer, nails, and a measuring tape to streamline the process.

Selecting the Right Materials
Choosing the right type of hardwood is essential for both aesthetics and durability. Consider factors like wood species, plank size, and finish. Oak and maple are popular choices due to their durability and classic look. Wider planks can make a room feel more spacious, while a matte finish offers a modern touch.
Don’t forget to purchase underlayment, which acts as a moisture barrier and adds cushioning underfoot. This step is especially important if you're installing over concrete or in moist environments like basements.
Installation Techniques
There are several installation methods to consider, including nail-down, glue-down, and floating. The nail-down method is popular for its longevity and is best suited for plywood subfloors. Glue-down is often used for engineered wood floors, providing a strong bond to the subfloor.
The floating method, where planks are locked together without being attached to the subfloor, is a simpler DIY option. It’s perfect for rooms with less foot traffic like bedrooms.

Laying the First Rows
Start by laying the first row along the longest wall in the room. Use spacers to maintain a small gap between the wall and flooring to allow for natural expansion. Ensure that the planks are straight by using a chalk line as your guide.
Stagger the joints in subsequent rows to create a more natural and appealing pattern. This not only enhances the visual appeal but also strengthens the structure of your flooring.
Finishing Touches
Once all the planks are in place, remove the spacers and install baseboards or moldings to cover the expansion gaps along the walls. This gives your floor a polished and professional appearance.
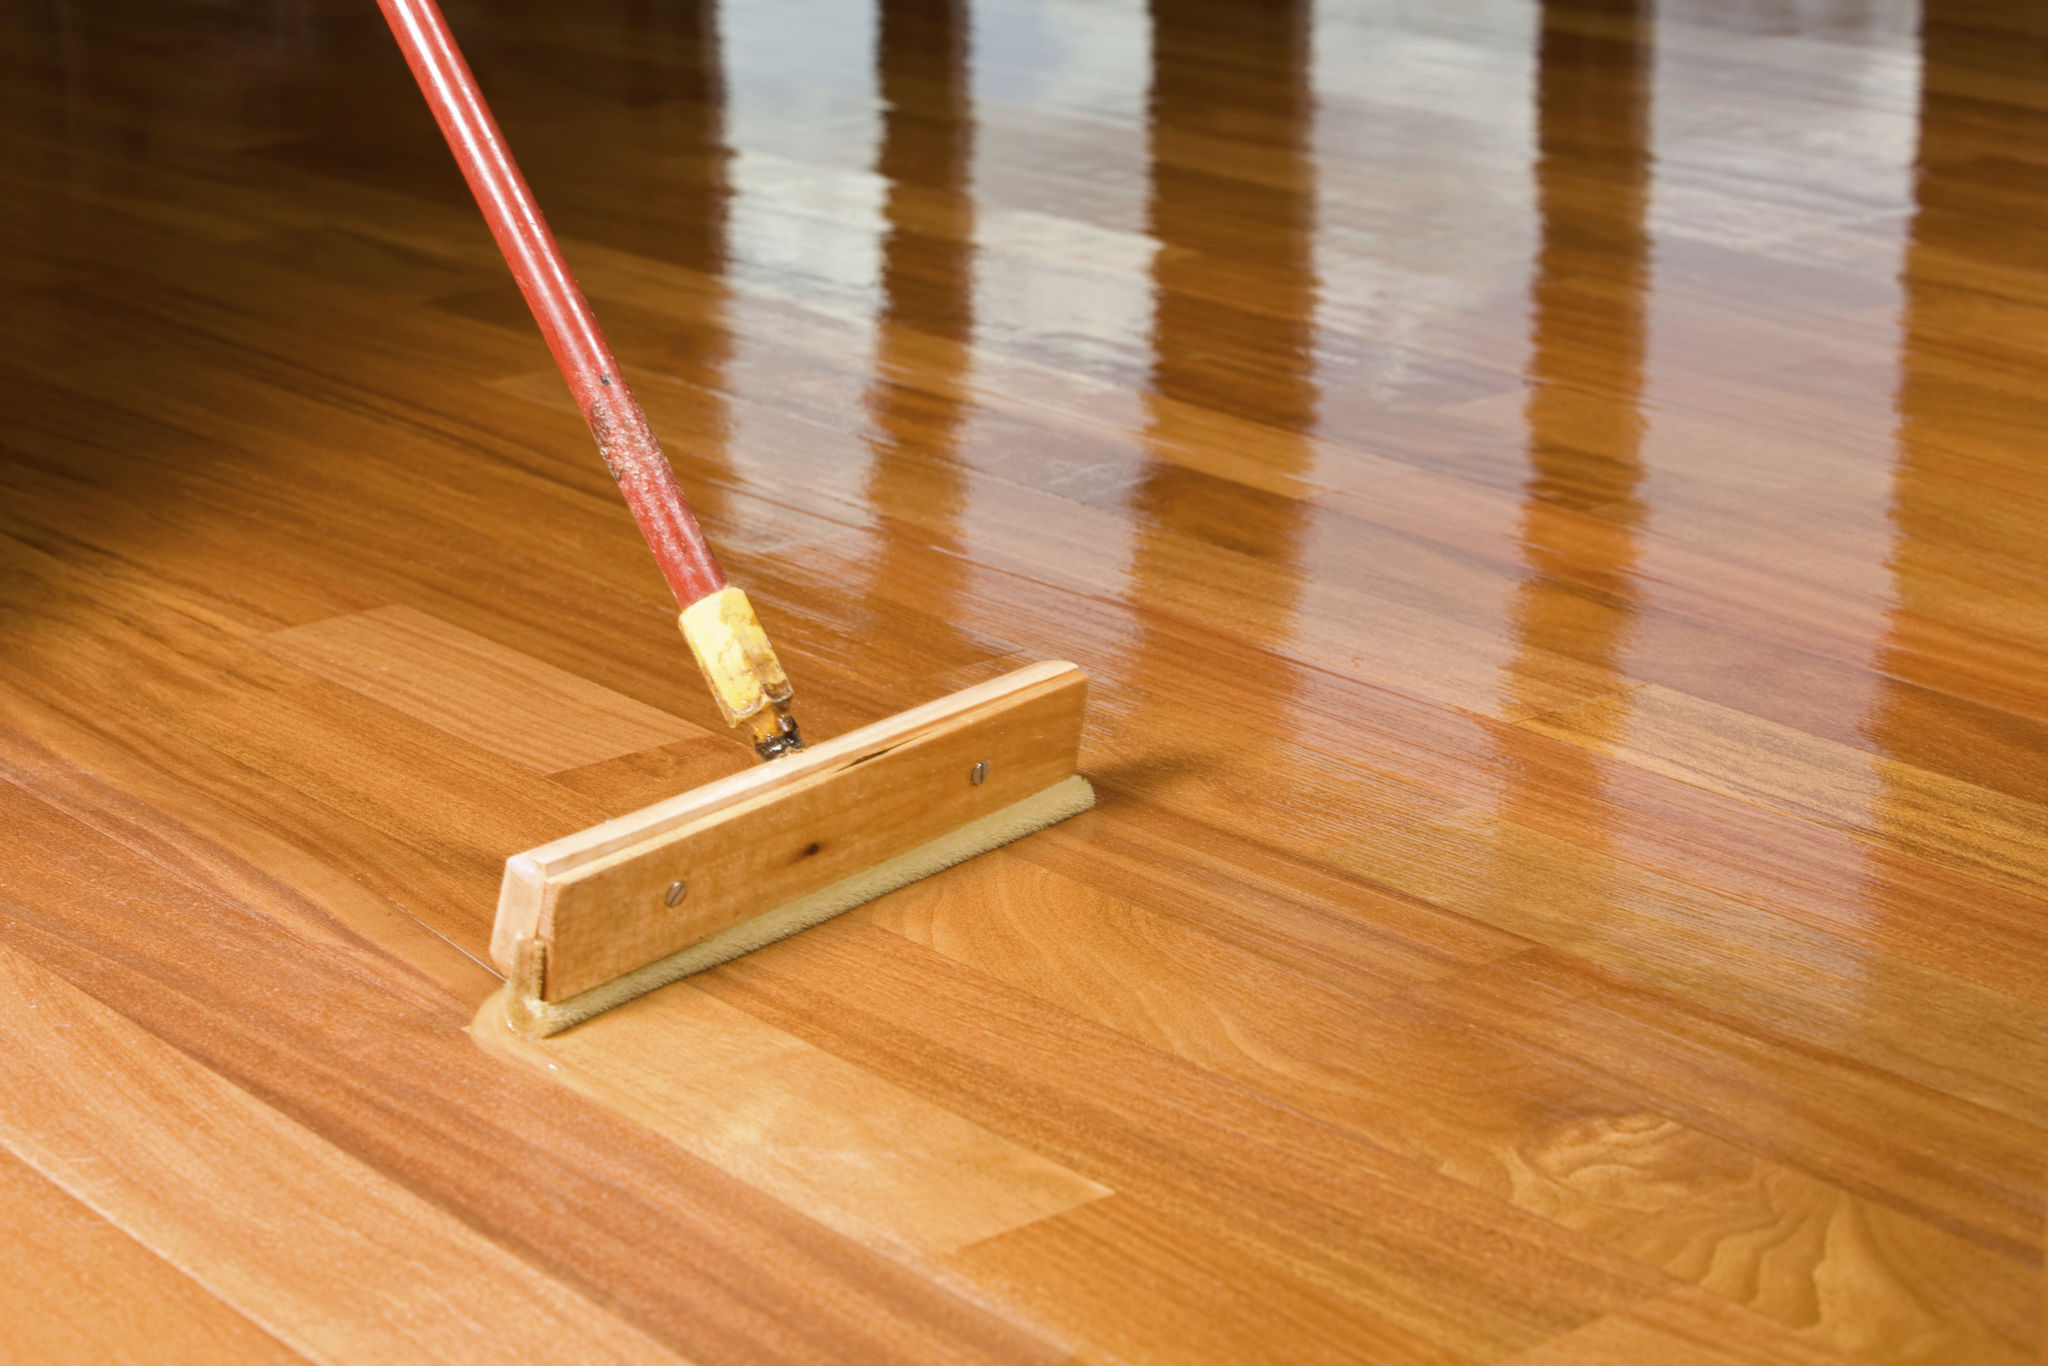
Finally, inspect your newly installed hardwood floors for any gaps or imperfections. Address any issues promptly to ensure longevity and maintain that professional finish. With these DIY tips, you can transform any room with stunning hardwood floors that look as if they were installed by a pro.